The Spring company, SpringSource
provides a full stack solution for Spring development, including
excellent IDE support, SpringSource provides an Eclipse based IDE to
speed up the development of Spring project.
Alternatively, you can get a copy of the JEE bundle from Eclipse website and install Spring ToolSuite plugin manually from Eclipse Marketplace.
Some Maven plugin such as APT needs a JDK instead of JRE at runtime.
Open Preference dialog, type JRE in the query text box to find the JRE you are using, change the JRE location to your JDK's location.
Also do not forget adjust the STS.ini, add
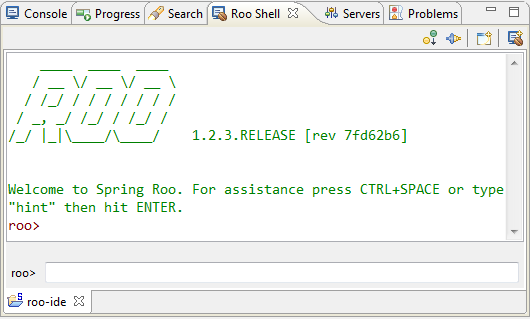
Yes, Spring ToolSuite integrate a command line interface in IDE directly, you can use it freely, just like the one in your system terminal.
Now you can follow the steps in last post and try to create a new Entity Conference in the Eclipse based Roo console.
Open the entity class Conference you have just created in the Roo console, try to add a new property name, and save it. Eclipse will synchronize the change set to the Roo related aspect files, you can some logging info in the Roo console.
Open Conference_Roo_JavaBean.aj in the same package, you will find the getter and setter of the name property are generated.
Follow the steps in last post and add other artifacts yourself.
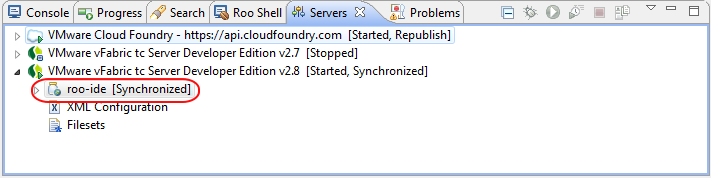
Run project in VMware vFabric Server is really simple, just drag the project root node to the server instance and release it.
The project will be deployed into the server.
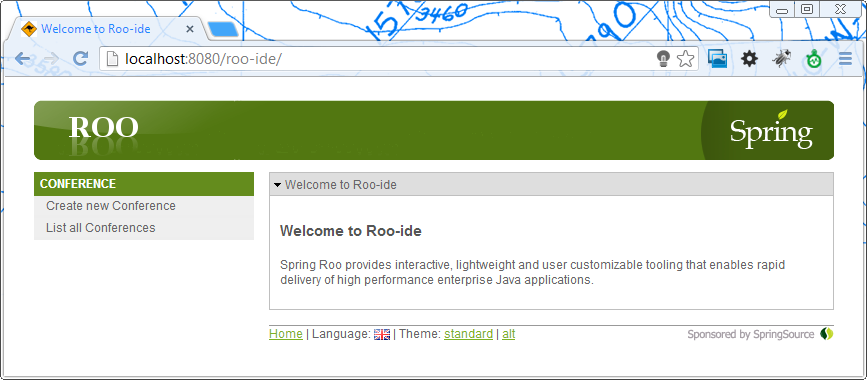
Open browser, go to http://localhost:8080/
Install Spring ToolSuite
You can download a copy of Spring ToolSuite from SpringSource, and install it into your local disk.Alternatively, you can get a copy of the JEE bundle from Eclipse website and install Spring ToolSuite plugin manually from Eclipse Marketplace.
- Download the newest Eclipse JEE Bundle from the Eclipse website.
- Extract the files from the zip archive into your local disk.
- Start up Eclipse IDE.
- Open Eclpse Marketplace from Help menu in the IDE menu bar.
- Search SpringSource to find the Spring ToolSuite plugin.
- Click Install button and wait the installation done.
- Restart IDE according to the prompt, and apply the change.
Some Maven plugin such as APT needs a JDK instead of JRE at runtime.
Open Preference dialog, type JRE in the query text box to find the JRE you are using, change the JRE location to your JDK's location.
Also do not forget adjust the STS.ini, add
-vm parameter, place it above the -vmargs. An example here.-vm D:/jdk7/bin/javaw.exe ... -vmargs ...Optionally, install the m2e wtp plugin from Eclipse Marketplace to improve the web application support in Eclipse IDE.
- Open the Eclipse Marketplace from Help menu of the Eclipse main menu.
- Type
wtpto search the Eclipse WTP related plugins. - Select Maven Integration for Eclipse WTP(incubation) and click Install button.
- Wait for the installation done, follow the Eclipse prompt and restart Eclipse to apply the plugins.
Create a Roo based project
Spring Roo is supported in Spring ToolSuite. You can create a Roo based Spring project from Eclipse directly.-
Open the Spring Roo Project creation wizard.
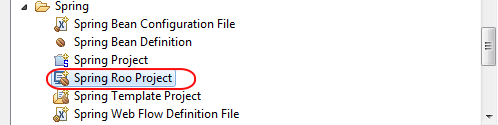
You can open the Roo project wizard from the SpringSource Dashboard(the "Home" page of Spring ToolSuite),
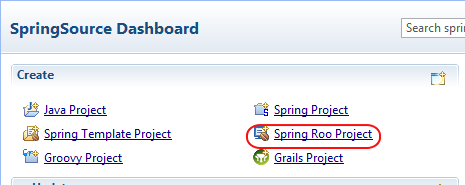
or follow the New project wizard. It is fairly easy work.
-
Fill the basic project info in the new Roo project dialog.
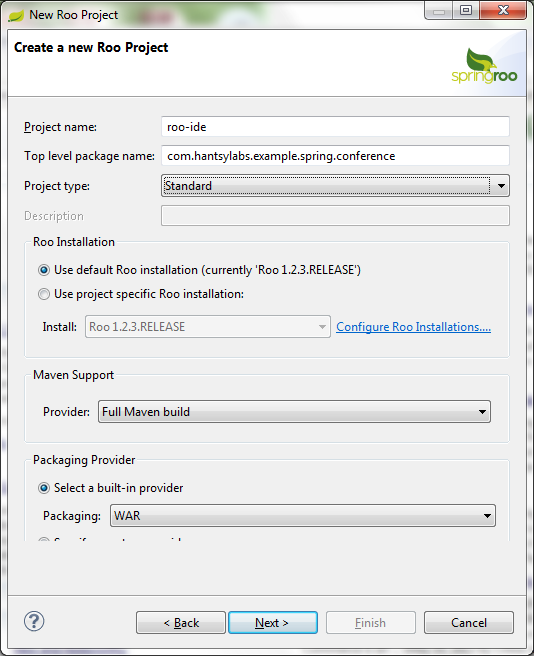
- Click Finish button to complete the creation.
Yes, Spring ToolSuite integrate a command line interface in IDE directly, you can use it freely, just like the one in your system terminal.
Setup essential artifacts
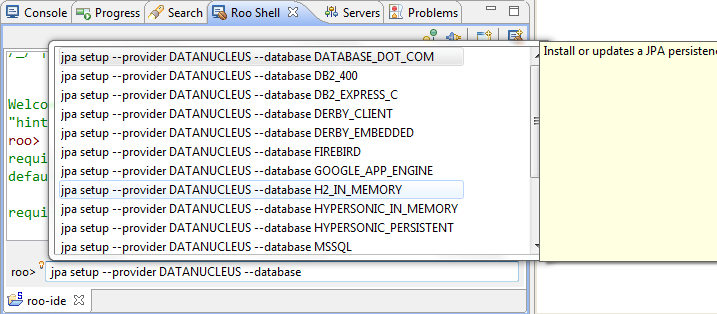
You can type the addon command the Roo Shell view and use IDE code assistance shortcuts( CTRL+SPACE by default) to get the available options.Now you can follow the steps in last post and try to create a new Entity Conference in the Eclipse based Roo console.
Open the entity class Conference you have just created in the Roo console, try to add a new property name, and save it. Eclipse will synchronize the change set to the Roo related aspect files, you can some logging info in the Roo console.
Open Conference_Roo_JavaBean.aj in the same package, you will find the getter and setter of the name property are generated.
privileged aspect Conference_Roo_JavaBean {

    public String Conference.getName() {
        return this.name;
    }

    public void Conference.setName(String name) {
        this.name = name;
    }
}
It is magic.Follow the steps in last post and add other artifacts yourself.
Run the project
A developer edition of VMware vFabric Server is shipped with Spring ToolSuite.Run project in VMware vFabric Server is really simple, just drag the project root node to the server instance and release it.
The project will be deployed into the server.
Open browser, go to http://localhost:8080/
评论