Prepare project skeleton
There are several solutions provided in the CakePHP documents to create a new CakePHP project from scratch.
- clone the cakephp from github, and work on it.
- use
bakecommand line from the shared Cake distribution to create a new project.
In the advanced section, the official guide also motioned how to create a CakePHP project via
bake console and manage project dependencies via Composer.
Let's create a CakePHP project step by step.
Bake project skeleton
- Create a folder for the new project, eg. angularjs-cakephp-sample.
- In the angularjs-cakephp-sample root, create a folder namedVendor.
- Create a text file named composer.json, the content is the following.
 {
    "name": "example-app",
    "repositories": [
        {
            "type": "pear",
            "url": "http://pear.cakephp.org"
        }
    ],
    "require": {
        "pear-cakephp/cakephp": ">=2.4.0",
 "cakephp/debug_kit": "2.2.*",
 "cakephp/localized": "2.1.x-dev"
    },
    "config": {
        "vendor-dir": "Vendor/"
    }
}
Put it into the root folder of angularjs-cakephp-sample.
Now the root folder structure looks like the following.
 angularjs-cakephp-sample
  /Vendor
 composer.json
 composer.phar
- Run
php composer.phar installin the project root folder. After it is done, you will get a copy of the latest CakePHP, and it is extracted into the Vendor folder. Now the folder should look like.
 angularjs-cakephp-sample
  /Vendor
  /pear-pear.cakephp.org
   /CakePHP
 composer.json
 composer.phar
- Create the new project skeleton using
bakecommand line in the CakePHP dependency(under Vendor).
Vendor\pear-pear.cakephp.org\CakePHP\bin\cake.bat bake project --app <path of angularjs-cakephp-sample>
You maybe notice there is a copy of
cake under Vendor\bin, but unfortunately it does not work in the current stable version(2.4.2) as described in the document.
Due to this issue, under windows, I have to use the above command line to create the project. And this issue will be fixed in the further 2.4.3.
Configure Apache for this application
I assume you have installed a PHP runtime environment for this project. PHP is ready for all popular Linux distributions. I am usingWAMP 2.4 under windows.
Enable mod_rewrite
mod_rewrite is required for CakePHP application. You have to enable it in the Apache configuration file.
Find the following line in the <apache>/conf/httpd.conf file.
LoadModule rewrite_module modules/mod_rewrite.so
Make sure it is not commented.
WAMP provides a context menu to configure the modules in Apache. You can click the mod_rewrite menu item to enable or disable.
After the configuration is saved, do not forget to restart the Apache server.
Configure DocumentRoot
In order to run the project on Apache, you need extra configuration.
The simplest way is set the DocumentRoot to the project path.
DocumentRoot "<project path>"
Alternatively, you can use a standalone host settings.
Create a angularjs-cakephp-sample.conf in the <WAMP>/hosts.
<VirtualHost *:80>
    ServerName localhost
    DocumentRoot E:/MyWorks/hantsy-labs/angularjs-cakephp-sample/webroot

    <Directory E:/MyWorks/hantsy-labs/angularjs-cakephp-sample/webroot>
        DirectoryIndex index.php
 Options Indexes FollowSymLinks MultiViews
        AllowOverride All
        Order allow,deny
        Allow from all
    </Directory>
</VirtualHost>
Now you can access the project via http://localhost.
If you want to use a context path for this project, you can use aliasconfiguration or enable user_dir module support in Apache configuration.
Thus you can access the project via url http://localhost/angularjs-cakephp-sample, or http://localhost/~<yourname>/angularjs-cakephp-sample, but you have to change the default configuration in the.htaccess under project root and webroot, add a RewriteBase line, the value is the context path of the project.
<IfModule mod_rewrite.c>
    RewriteEngine on
    RewriteBase /angularjs-cakephp-sample
    RewriteRule    ^$    webroot/    [L]
    RewriteRule    (.*) webroot/$1    [L]
</IfModule>
Modify the source codes
In order to run the project, you should modify the generated sources slightly.
Workaround of the Classloader
In the CakePHP document, there are some content to describe how to modify the CakePHP classloader and make it compatible withComposer generated classloader.
Open Config/bootstrap.php file, append the following content.
// Load composer autoload.
require APP . '/Vendor/autoload.php';

// Remove and re-prepend CakePHP's autoloader as composer thinks it is the most important.
// See https://github.com/composer/composer/commit/c80cb76b9b5082ecc3e5b53b1050f76bb27b127b
spl_autoload_unregister(array('App', 'load'));
spl_autoload_register(array('App', 'load'), true, true);
Define CAKE_CORE_INCLUDE_PATH
In the webroot/index.php, find the
CAKE_CORE_INCLUDE_PATH constant definition, and replace it with the following content.define(
'CAKE_CORE_INCLUDE_PATH',
ROOT . DS . APP_DIR . '/Vendor/pear-pear.cakephp.org/CakePHP'
);
Run the project
Start up Apache server, and navigate to http://localhost.
You would see the following screen.
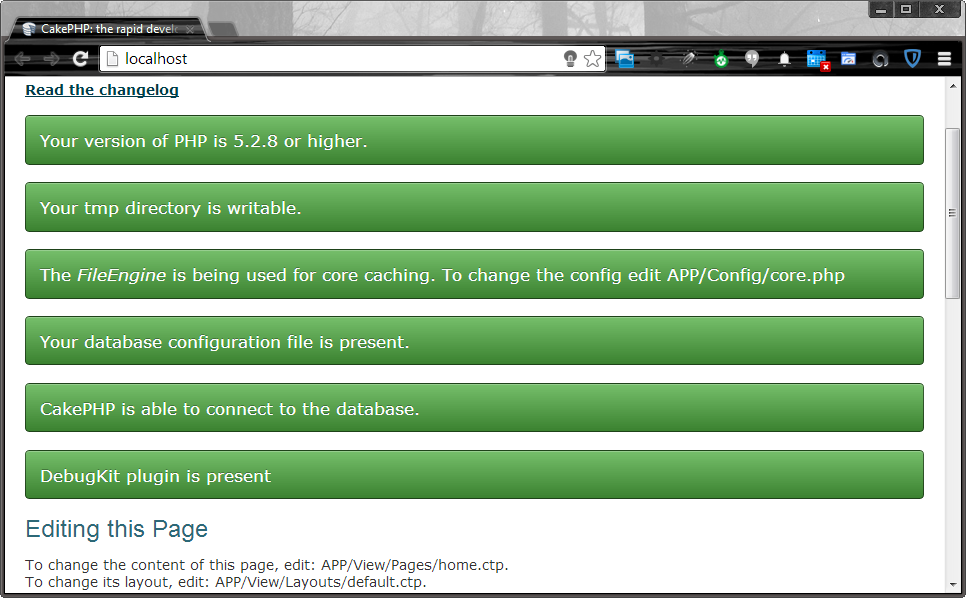
If all configuration are correctly, you could see all the configuration items are displayed as green bars. If there are some error or warning, please go back to the project source codes and fix them firstly.
Summary
The
bake command line will generate the session salt and security key, database configuration for you automatically. And Composerprovides dependencies for the project. Compare to the PEARpackage management, the benefit is obviously. Using Composer you can use a project scoped CakePHP, thus you can use different versions of CakePHP in different projects, and the more powerful feature of Composer is you can upgrade your CakePHP to the new version easily.
评论